For the first block/potholder -
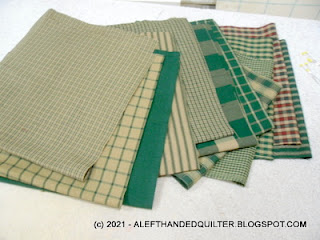
Take 4 strips 2" wide by at least 8-1/2" long -

Layer them on top of each other - right sides up -
Four layers deep -

Using the LEFT-EZE Rule™ -
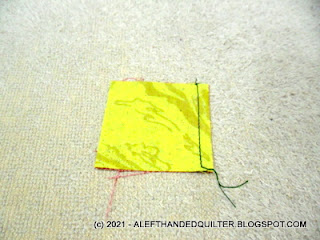
Line up your strip on your cutting mat -
And - starting at the RIGHT end of the strip -
Turn the ruler on its side -

And trim the end to make it straight -

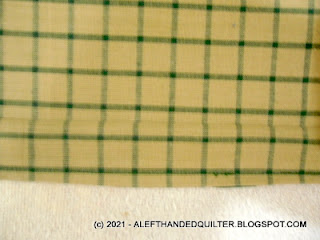
Then line up the 2" line at the cut edge of the strip -
NOTE - The 2-1/2" line is the one between the 2 and the 3 - LOL -
I didn't "label" it because I didn't want to garbage up the design -
And I figured you guys were smart enough to figure it out -
Make sure the line is ON THE FABRIC - not on the mat -
Cut straight UP the left side of the ruler -

And slide the ruler to the LEFT -
Then cut the other 3 squares -


You should have 16 squares - for a 16-patch - LOL -
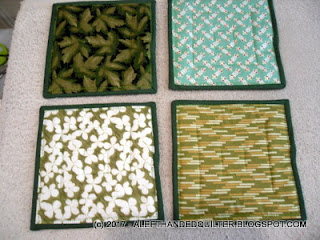
And you can lay them out any way you want -
I chose this layout for mine -

The GREEN STRIPE ones go in different directions -
Because the potholder will be on the DIAGONAL -
When it is hung -
And I wanted it to look like this when it is finished -

Sew the squares into rows -

And press alternate rows in different directions -
I flipped my rows over -
And pressed the top and third rows to the RIGHT -
And the second and bottom rows to the LEFT -

Sew the rows together -
Nesting the seams -
And press it -

It should measure 6-1/2" square -

It will be bigger when I add borders to two sides -
I'll show you that part -
And the rest of it -
For now - I put mine up on the design wall -

And have more strips on a cookie sheet -
Ready to go -

Tomorrow I'll show you how to use the LEFT-EZE Rule™ -
To cut HST - Half-Square Triangles - ;))
To cut HST - Half-Square Triangles - ;))
If you'd like to make several potholders at a time -
You might like this post - HERE - ;))
Talk to you later - gotta go - gotta sew -